Appearance
Getting Started with Bridge
This guide walks through the basic Bridge Alpha flow.
Before You Begin
You will need:
- A SharpTools account with Bridge Alpha access.
- A device that can run Bridge locally, such as a Linux host, NAS, home server, always-on desktop Mac or Windows PC, or another machine that stays awake.
- Access to the local network where your devices live.
- A supported device or integration to test.
Bridge should run on a machine that is normally available. Desktops, NAS, or dedicated always-on mini computers are excellent choices.
Local Network Required
Many Bridge integrations depend on local network access, discovery, or direct device communication. For desktop users, the Windows and macOS installers are usually the best fit. For dedicated Linux hosts and NAS devices, Docker with host networking usually has the best LAN discovery behavior.
Choose an Install Path
Pick the install path that best matches the machine where Bridge will stay running.
- Windows installer: good for always-on desktop-style Windows PCs. The installer runs Bridge as a background service and includes a system tray app.
- macOS installer: good for always-on desktop-style Macs. The installer runs Bridge as a background service and includes a menu bar app.
- Docker: good for Linux servers, NAS devices, and power-user environments where host networking is available.
- Standalone binary: useful for Linux testers and advanced/manual setups.
- Download and install Bridge.
Loading the latest Bridge release...
- Use the SharpTools Bridge system tray app to open the local Bridge UI.
- Keep the Windows PC awake and available on your local network.
- Download and install Bridge.
Loading the latest Bridge release...
- Use the SharpTools Bridge menu bar app to open the local Bridge UI.
- Keep the Mac awake and available on your local network.
bash
docker run -d \
  --name sharptools-bridge \
  --restart unless-stopped \
  --network host \
  -v sharptools-bridge-data:/data \
  ghcr.io/sharptools-io/bridge:alpha
yaml
services:
  bridge:
    image: ghcr.io/sharptools-io/bridge:alpha
    container_name: sharptools-bridge
    restart: unless-stopped
    network_mode: host
    volumes:
      - sharptools-bridge-data:/data

volumes:
sharptools-bridge-data:- Download and unpack the Linux binary.
Loading the latest Bridge release...
- Extract the archive on the Linux host where Bridge will stay running.
- Run
SHARPTOOLS_BRIDGE_HOME=/var/lib/sharptools-bridge ./sharptools-bridgefrom the extracted folder for a quick terminal test, or run it from your preferred service manager. - Open
http://<linux-host>:8787/from a browser on your local network.
The Docker examples above are best suited to Linux hosts, NAS devices, and server-style environments that support host networking. They rely on the defaults built into the Bridge image: /data for persistent storage, 8787 for the local admin UI, and 0.0.0.0 for local-network access.
For most Windows and macOS desktop users, use the native installer instead of Docker Desktop. Docker Desktop port mapping is usually enough for the Bridge UI and outbound cloud connection, but it can interfere with mDNS, UDP broadcast, Matter commissioning, and other local discovery behavior. If you still want to use Docker Desktop, review the warnings in Install with Docker before choosing that path.
Basic Flow
- Install and start Bridge using one of the install paths above.
- Open the local Bridge admin UI at
http://<bridge-host>:8787/. - Follow the onboarding guidance in Bridge to connect SharpTools Cloud, add a local integration, and sync selected resources.
- Use synced resources in SharpTools dashboards and rules like other SharpTools devices.
- Check System > Logs if setup, sync, or commands do not work as expected.
Open the Bridge UI
After Bridge starts, open the local admin UI from a browser on your local network:
text
http://<bridge-host>:8787/If you are running Bridge on the same computer you are using to browse:
text
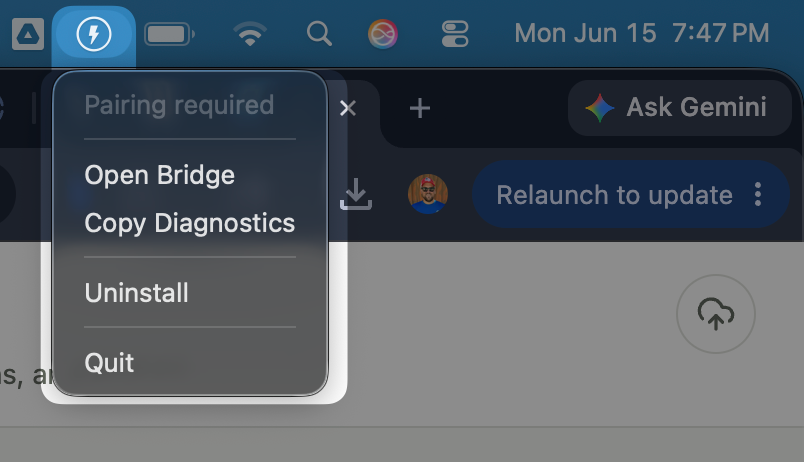
http://localhost:8787/macOS Menu Bar
macOS installer users can open the SharpTools Bridge app and choose Open Bridge from the SharpTools menu bar icon.
The Bridge UI includes:
- Overview for first-run setup and high-level status.
- Devices for local resources, controls, details, and SharpTools Cloud Sync selection.
- Integrations for configured drivers and setup flows.
- System for cloud connection, updates, logs, runtime information, network details, and experimental Labs features.
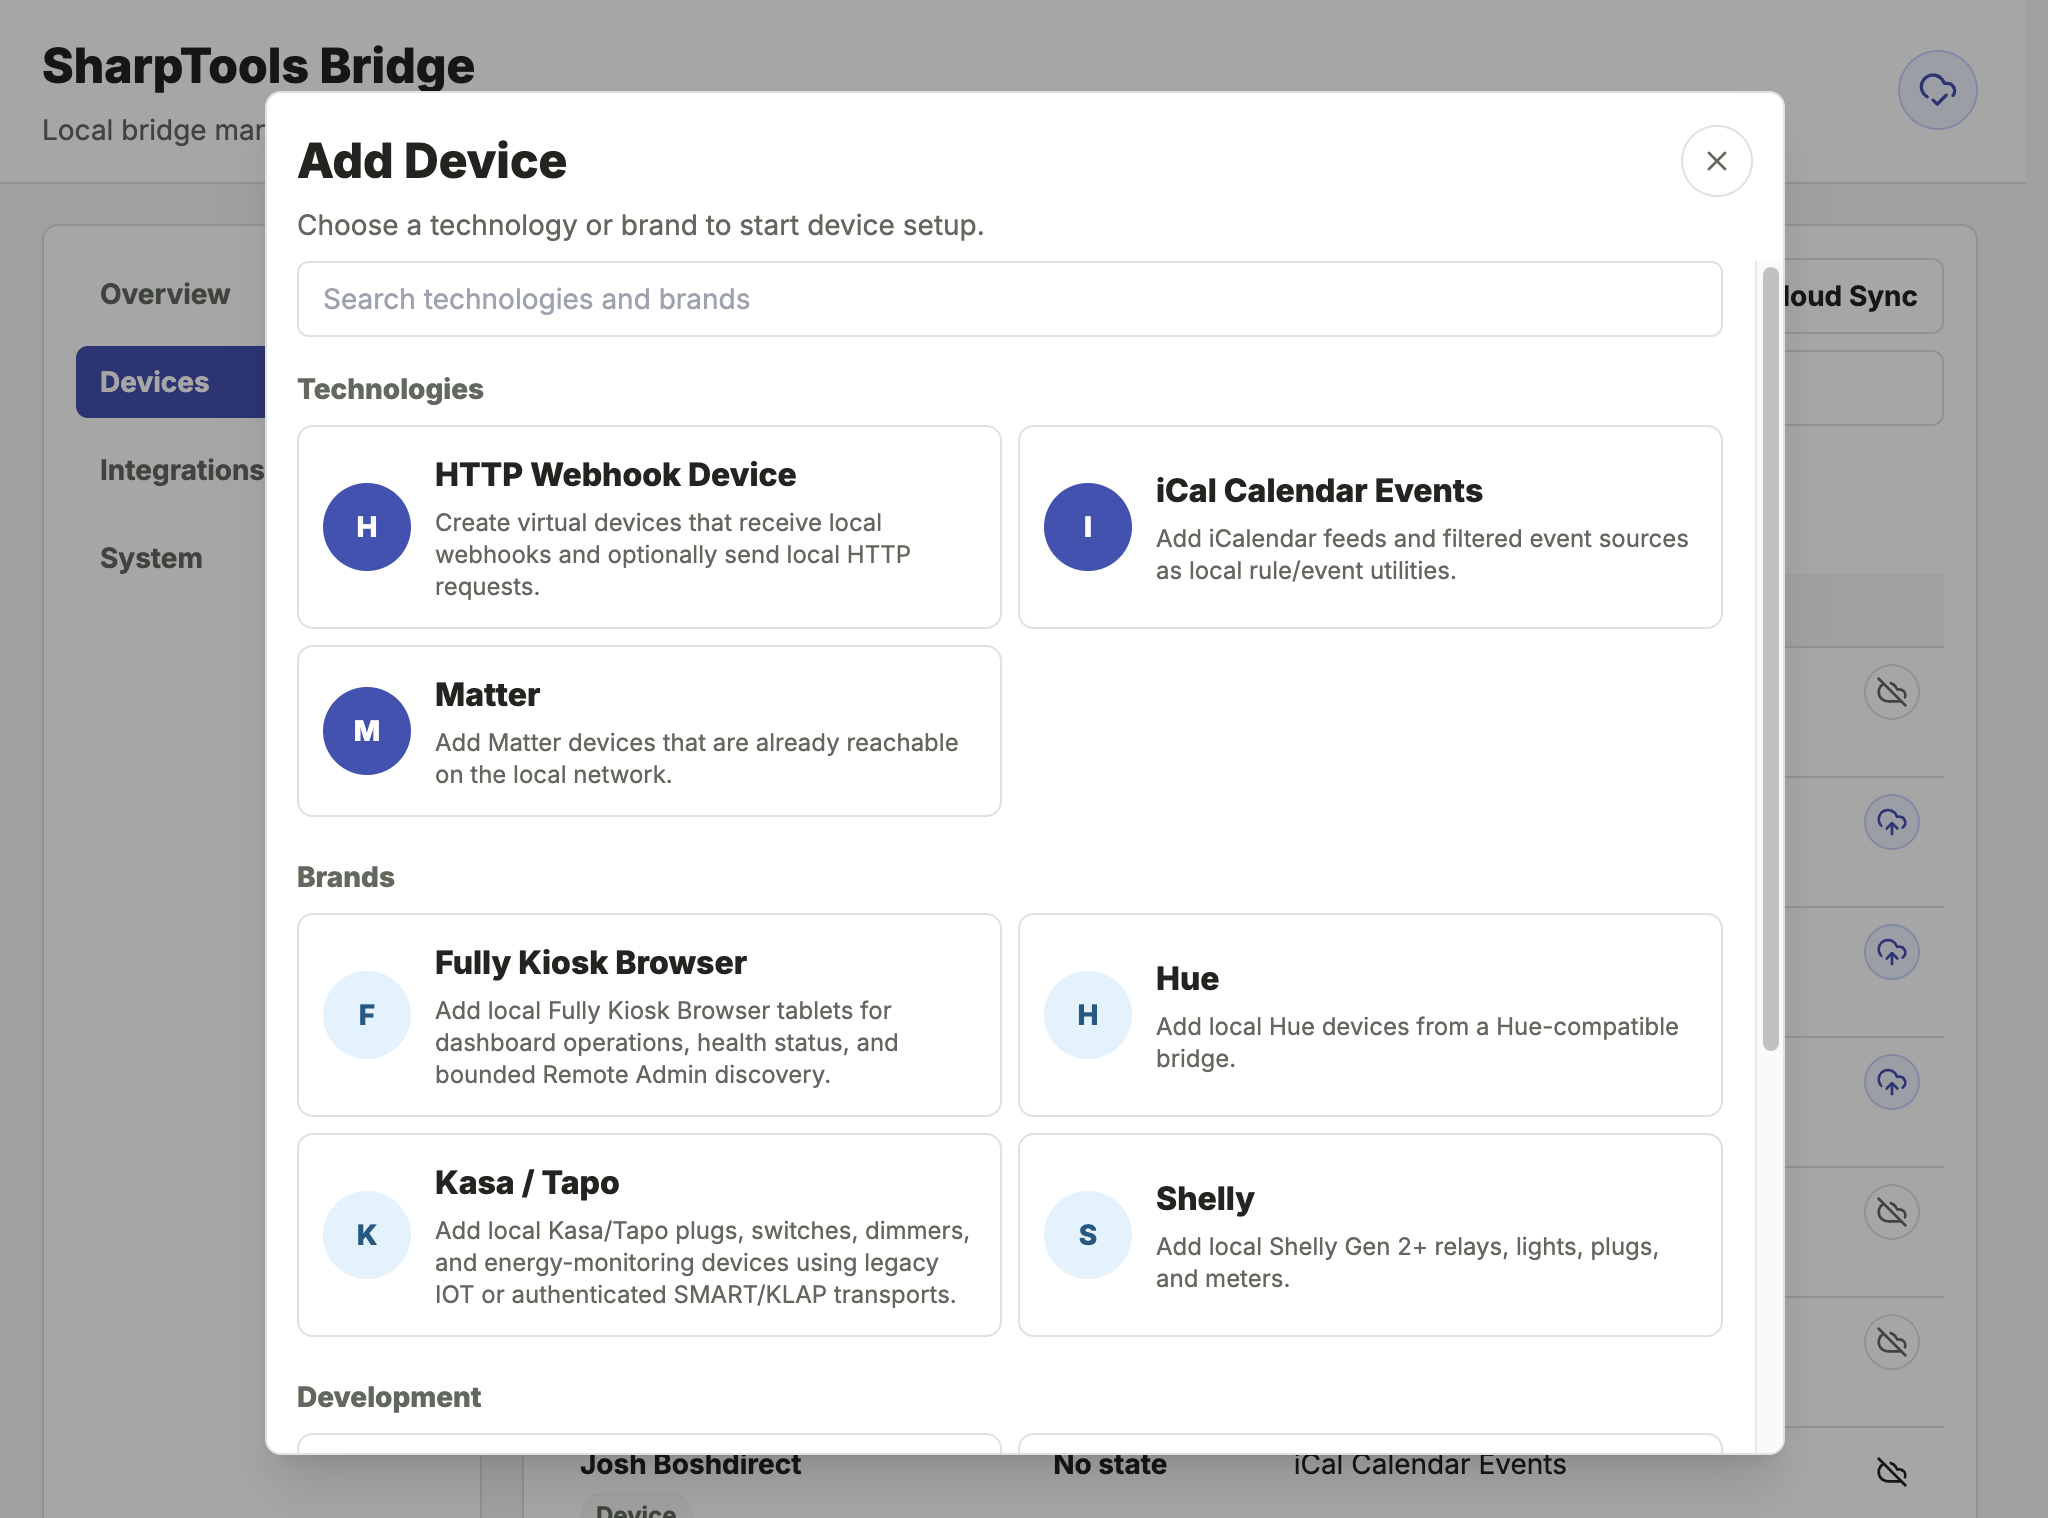
Add Your First Integration
From the Bridge UI:
- Select Add Device.
- Choose a supported integration.
- Complete the setup flow.
- Select the resources you want to sync to SharpTools.
Some integrations can discover devices automatically. Others require a host, URL, setup code, or credentials.
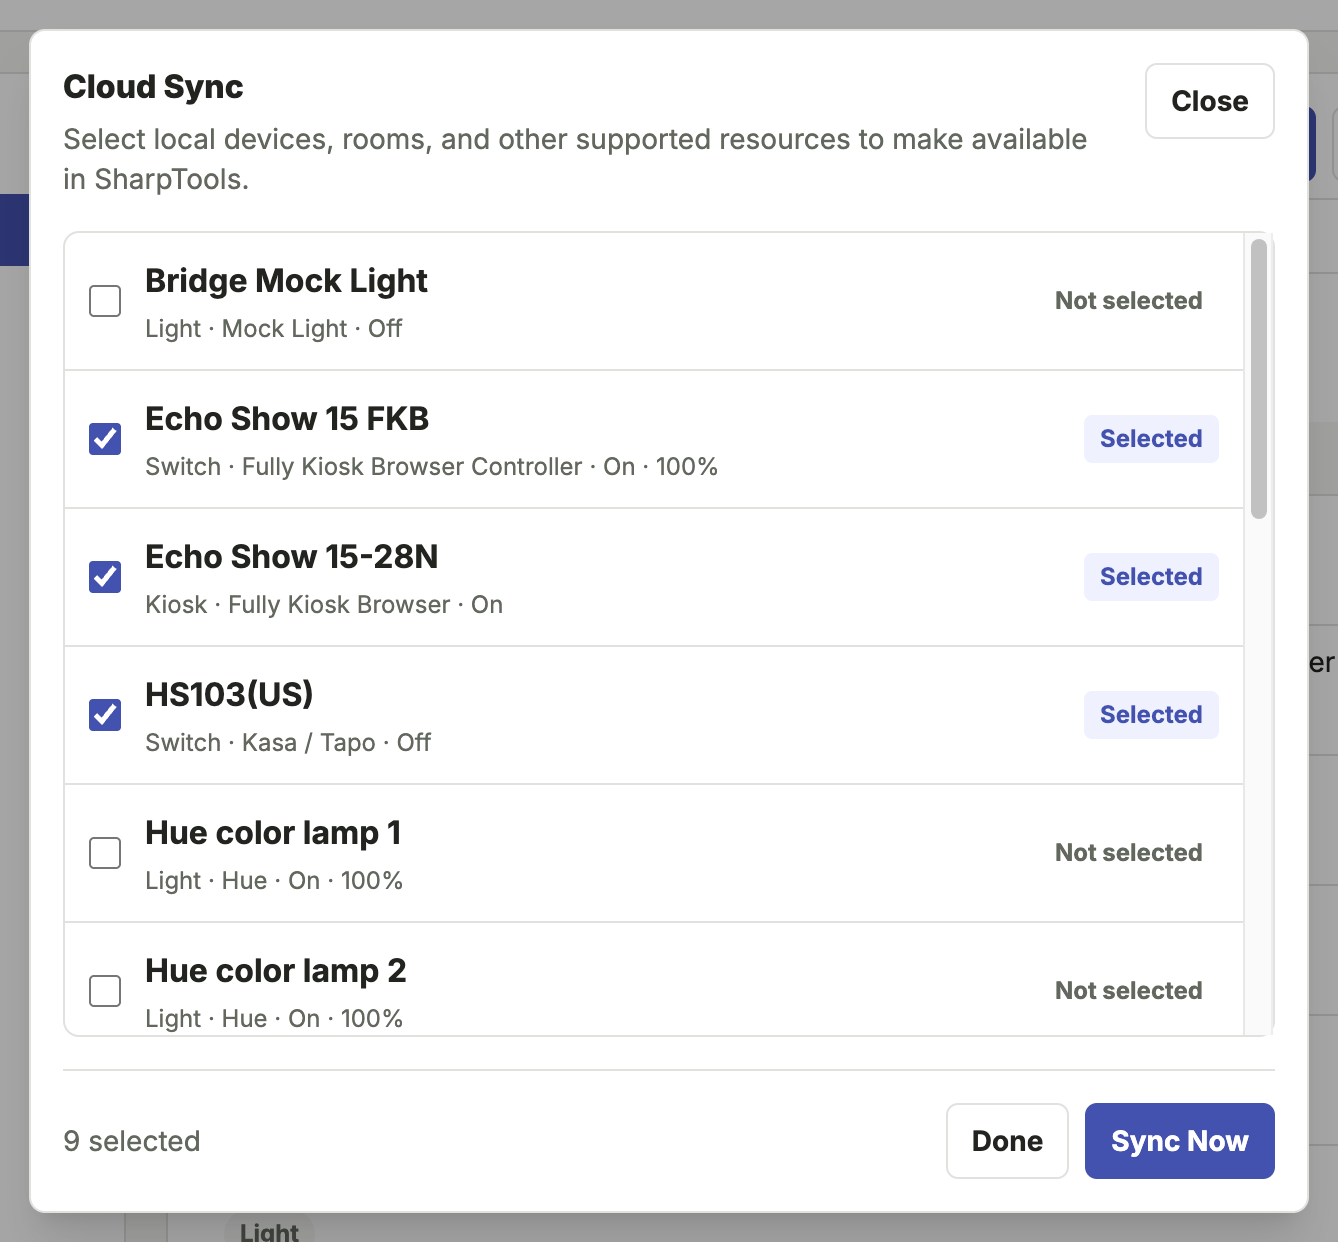
Use Bridge Devices in SharpTools
From the Devices tab, use Cloud Sync to choose which Bridge resources should be available in SharpTools Cloud.
Once selected resources have synced, they can be used in SharpTools dashboards and rules like other SharpTools devices.
Share Feedback
When reporting feedback, include:
- How you installed Bridge.
- Which integration or device you tested.
- What worked.
- What did not work.
- Relevant screenshots or Bridge logs.
- Any network details that might matter, such as Docker host networking, VLANs, or Docker Desktop port mapping.